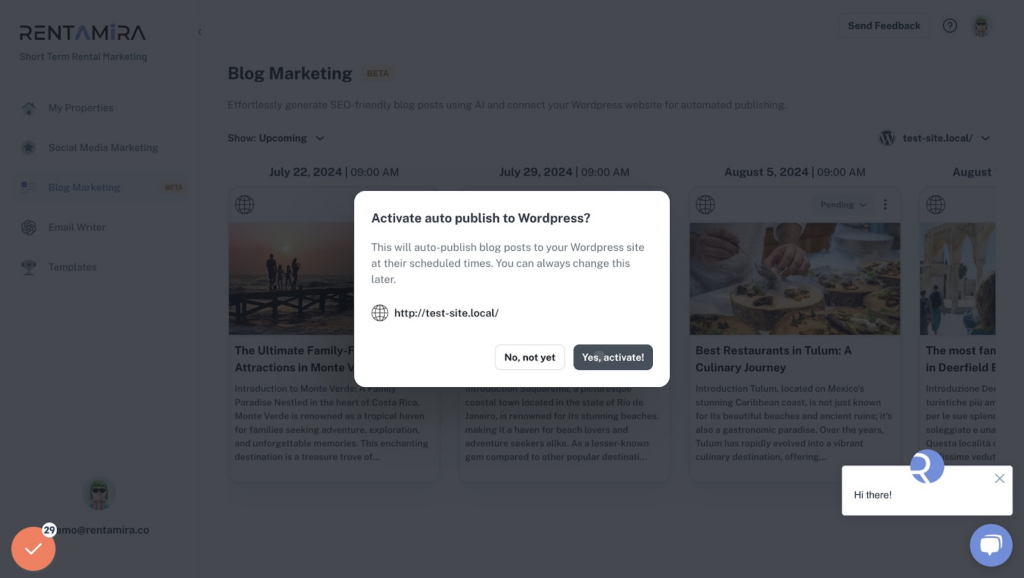
- Log in to your WordPress Dashboard and Click on “Users” in the side menu.
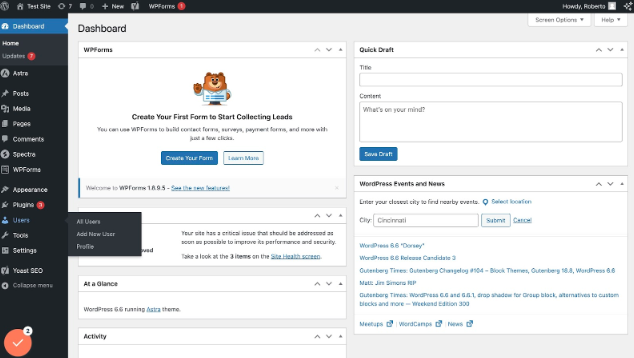
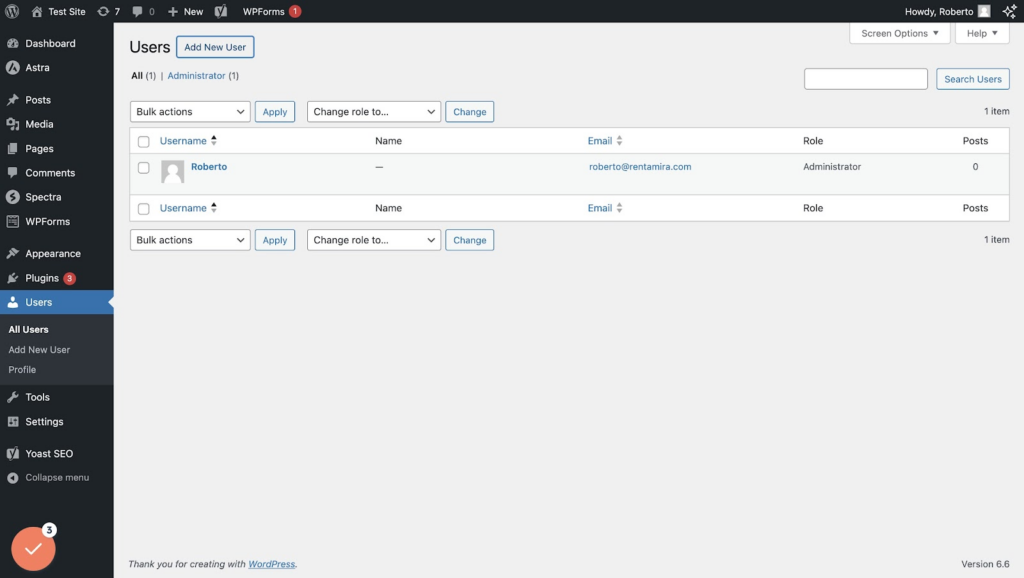
2. Click on “Add New User”
3. Click on the “Username” field and type in the username you want to appear as the author of the blog. In this example we’ll type “yourname”.
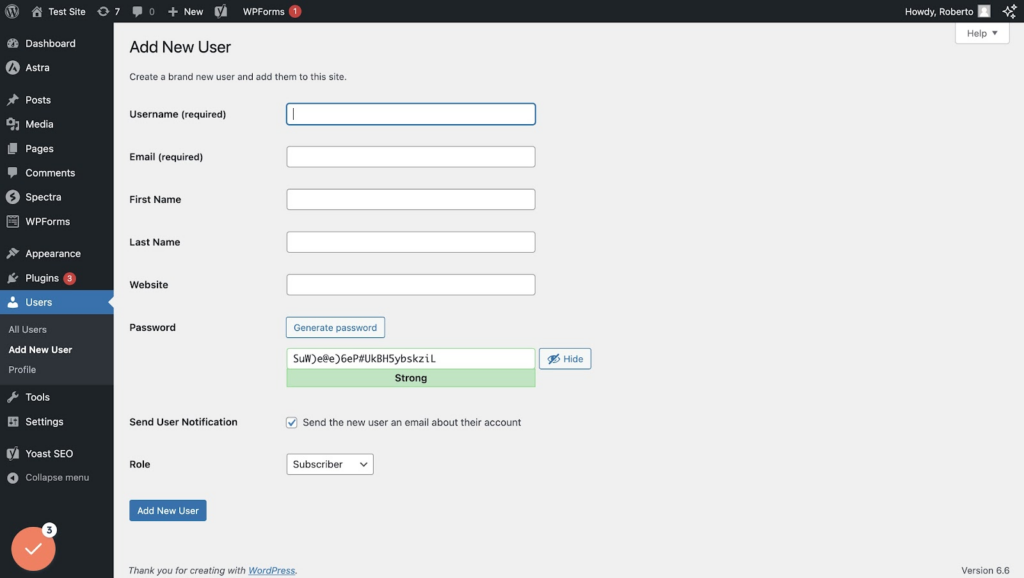
4. Click on the “Email” field and type “seo@rentamira.com“
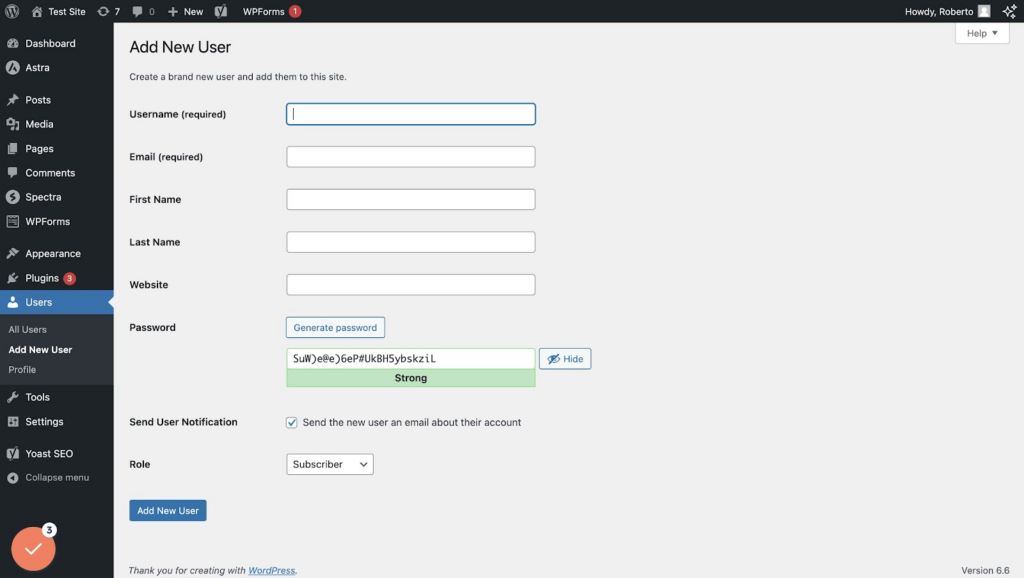
5. Click on the “Role” drop-down.
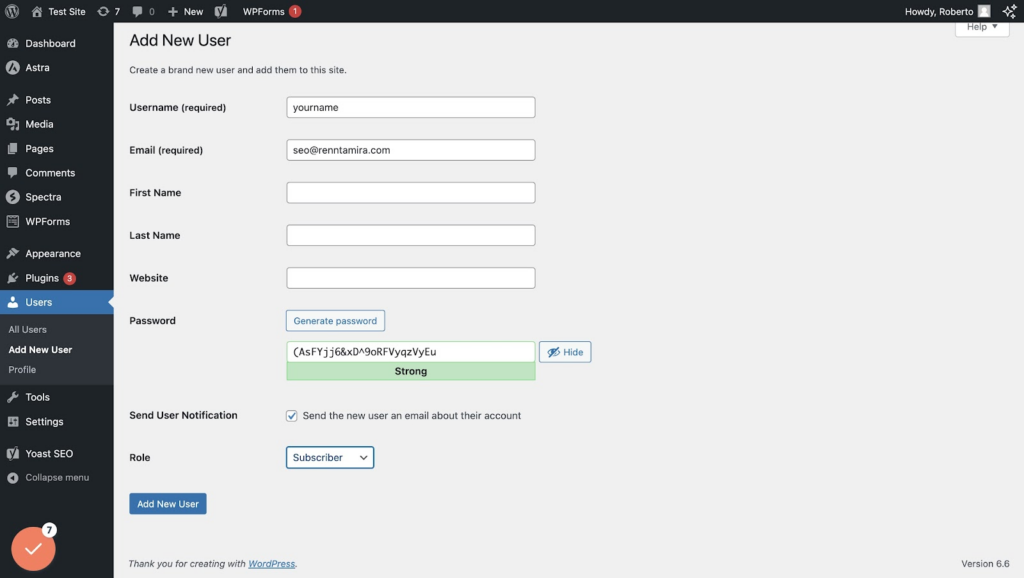
6. Select “Author”
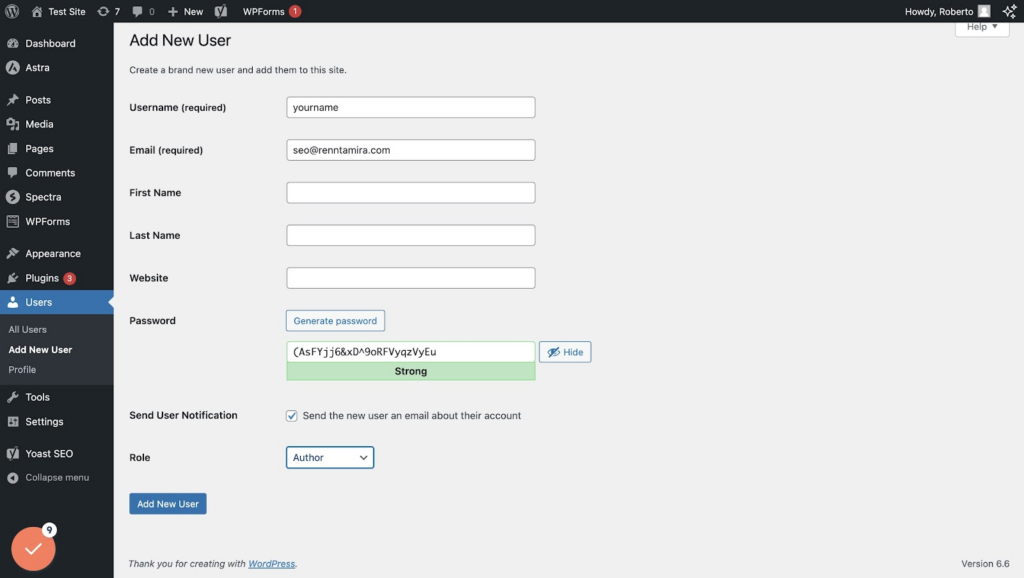
7. Then Click on “Add New User”
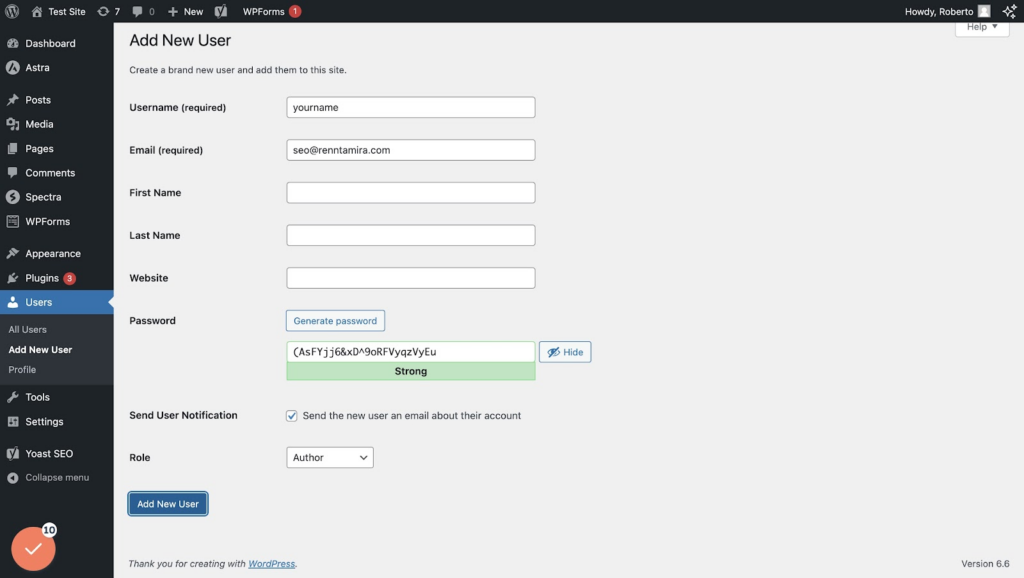
8. Click on the new user you have just created, in this case “yourname”
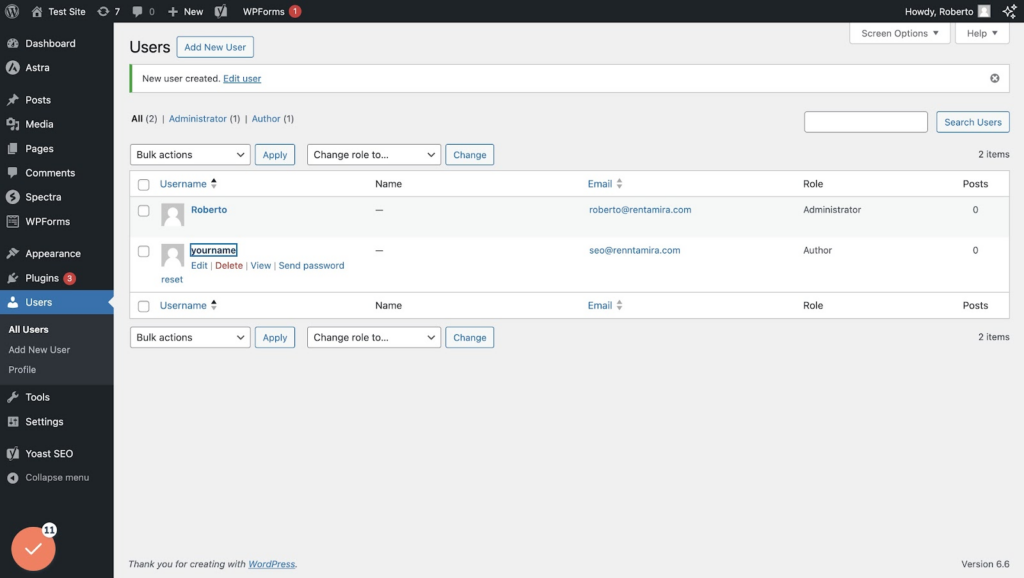
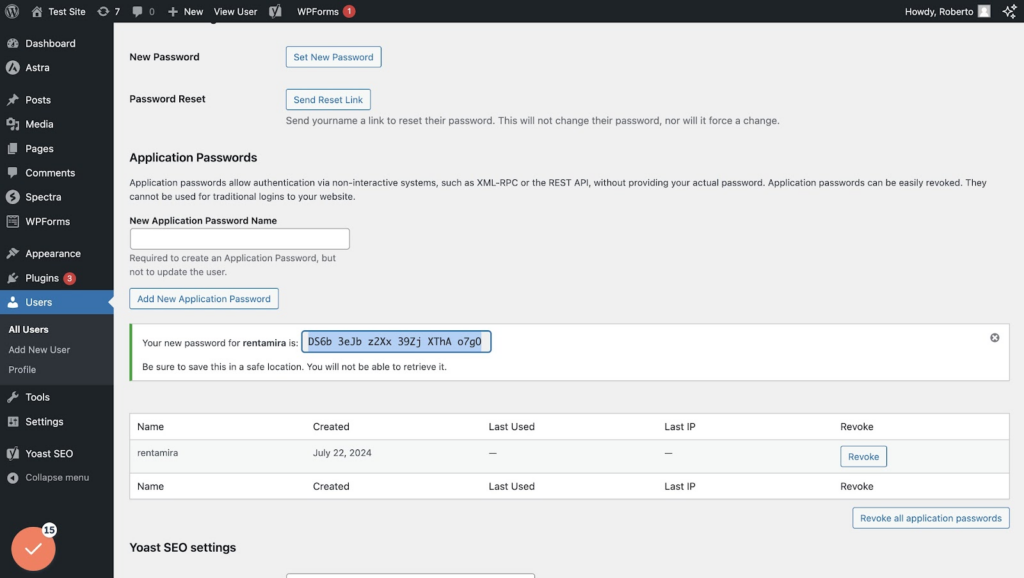
9. Scroll down to “New Application Password Name”
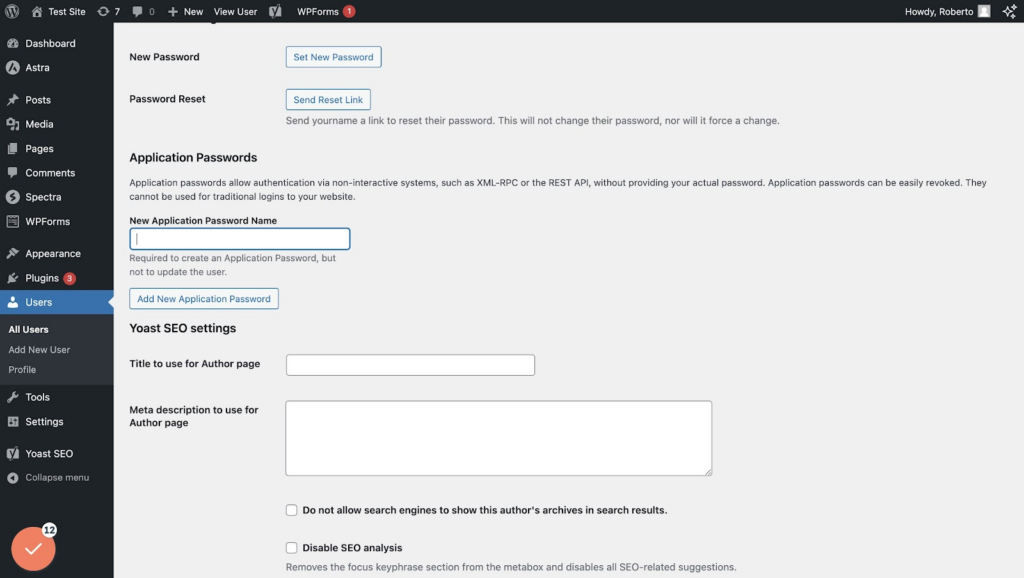
10. Type “rentamira”
This name serves as reference only
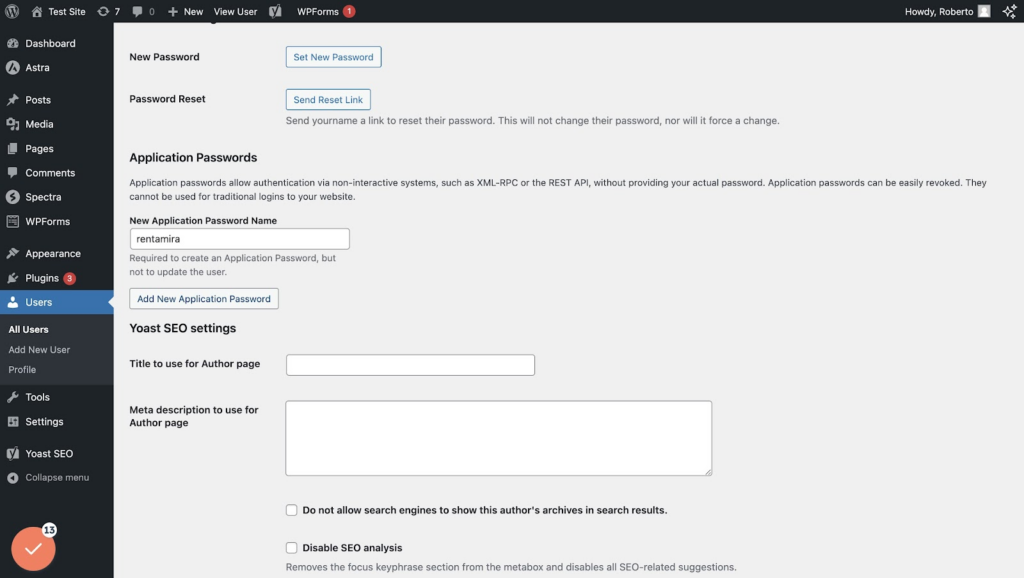
11. and Click on “Add New Application Password”
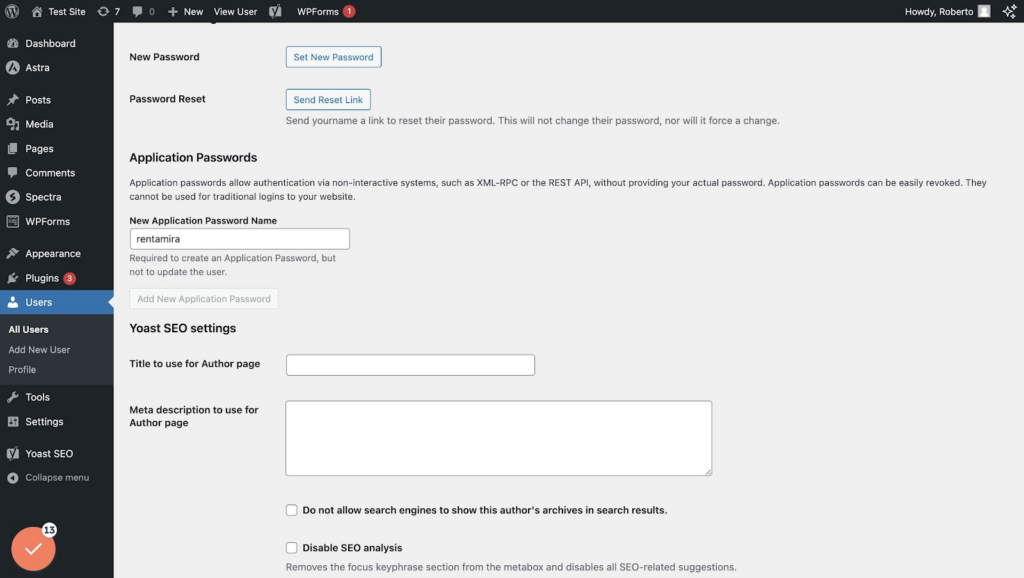
12. Copy “Your new password for rentamira” that was just created
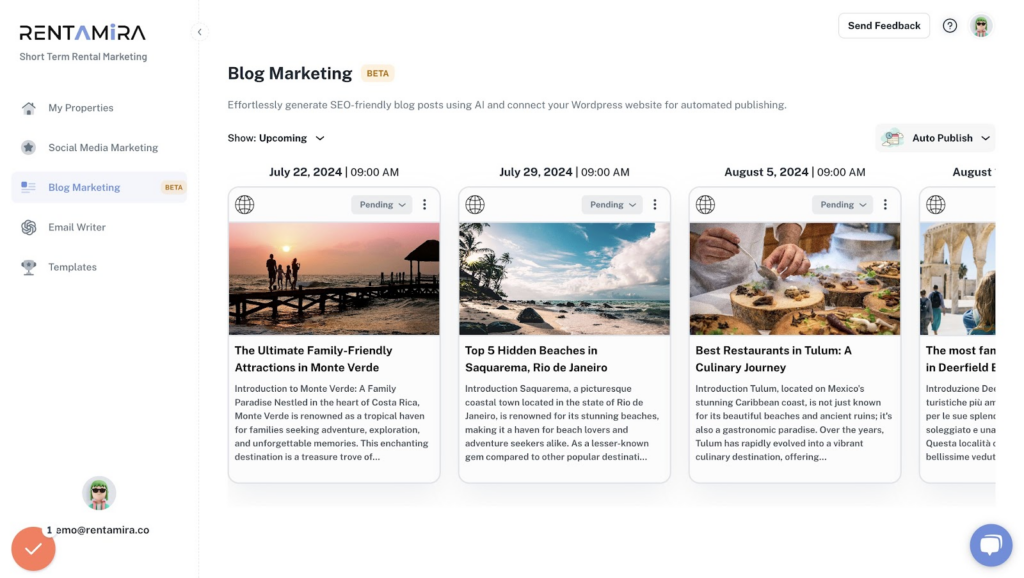
13. Go back to Rentamira Blog Marketing page and Click on “Auto Publish”.
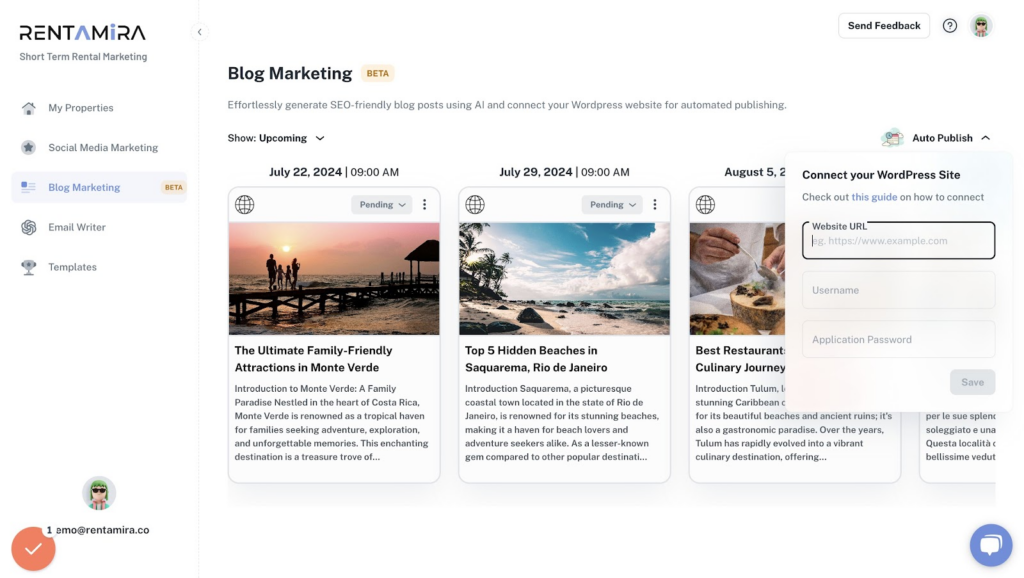
14. Click on the “Website URL” field and type in your Website URL.
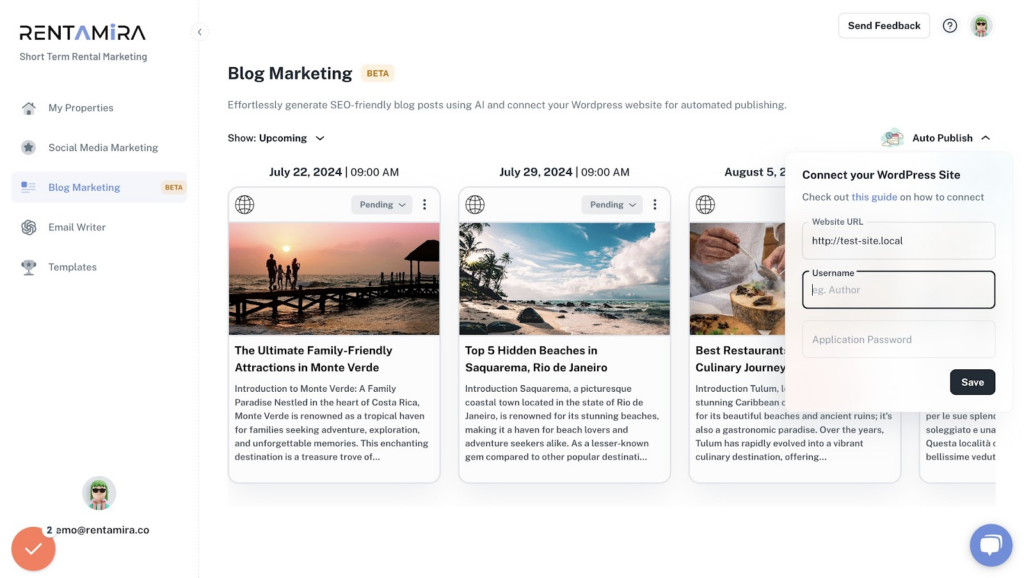
15. Click on the “Username” field and type in the username you created on steps 1 to 7 (in this example “yourname”).
16. Click on the “Application Password” field and paste the application password you have just created on WordPress.
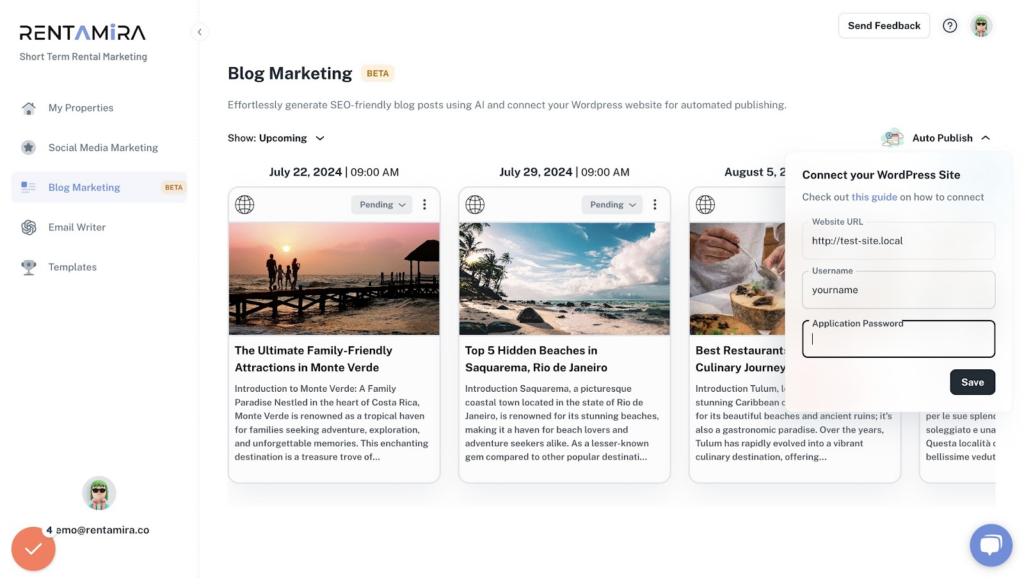
17. Then Click on Save.
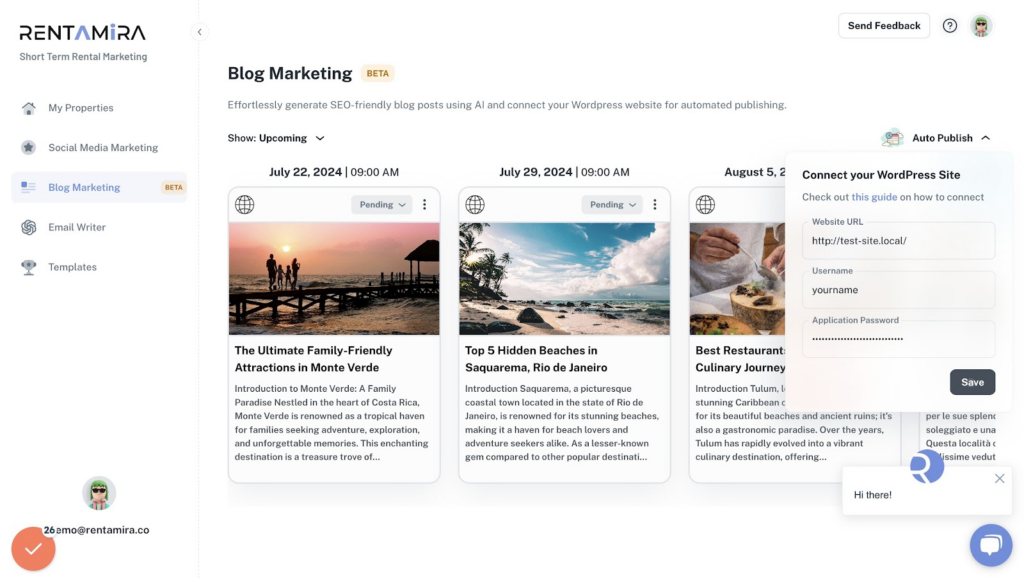
18. Finally, Click on “Yes, activate!” to activate the Auto Publish to WordPress.
